Dipping Our Toes in Animation with Carl 'n Harlan
After completing our short film “Corky” in early October, I had pitched Mitch an idea I had been noodling for a while. I’ve always wanted to attempt an animated short and the tools in Adobe Character Animator were getting easier for a novice team like ourselves to dip our toes into a keyframe and tween world.
The idea of two rural guys jibber-jabbering on a porch would keep the walk cycles to a minimum and if we could find an interesting story to tell with dialogue, we might be able to pull it off.
Mitch took that idea and ran with it coming up with a Christmas-themed story that now had a deadline of Dec. 25th.
Not knowing what we were doing, here’s the steps we took to deliver Carl ‘n Harlan by Christmas:
Doing 95% of the audio upfront.

Audio timeline from Adobe Audition for Carl ‘n Harlan
Using the same tools we use to produce Über Cinco remotely, we were able to direct each other’s voiceover session safely and were able to hire New York based voice actor Dreena Moran for the role of Goldy. I laid out the audio in Adobe Audition and assembled our first draft. Hearing the inflections informed how the characters needed to be designed in terms of range of motion, looks, mouth shapes, hand positions, etc.
Character design
“Carl” layer structure in Adobe Illustrator.
I designed Carl and Harlan in Adobe Illustrator, separating their layers according to what was necessary in Character Animator to get them rigged up. I chose Illustrator for them as we didn’t know what camera angles we were going to have and since vectors are math-based and not pixel-based, I knew we could scale them for a close-up and not lose quality.
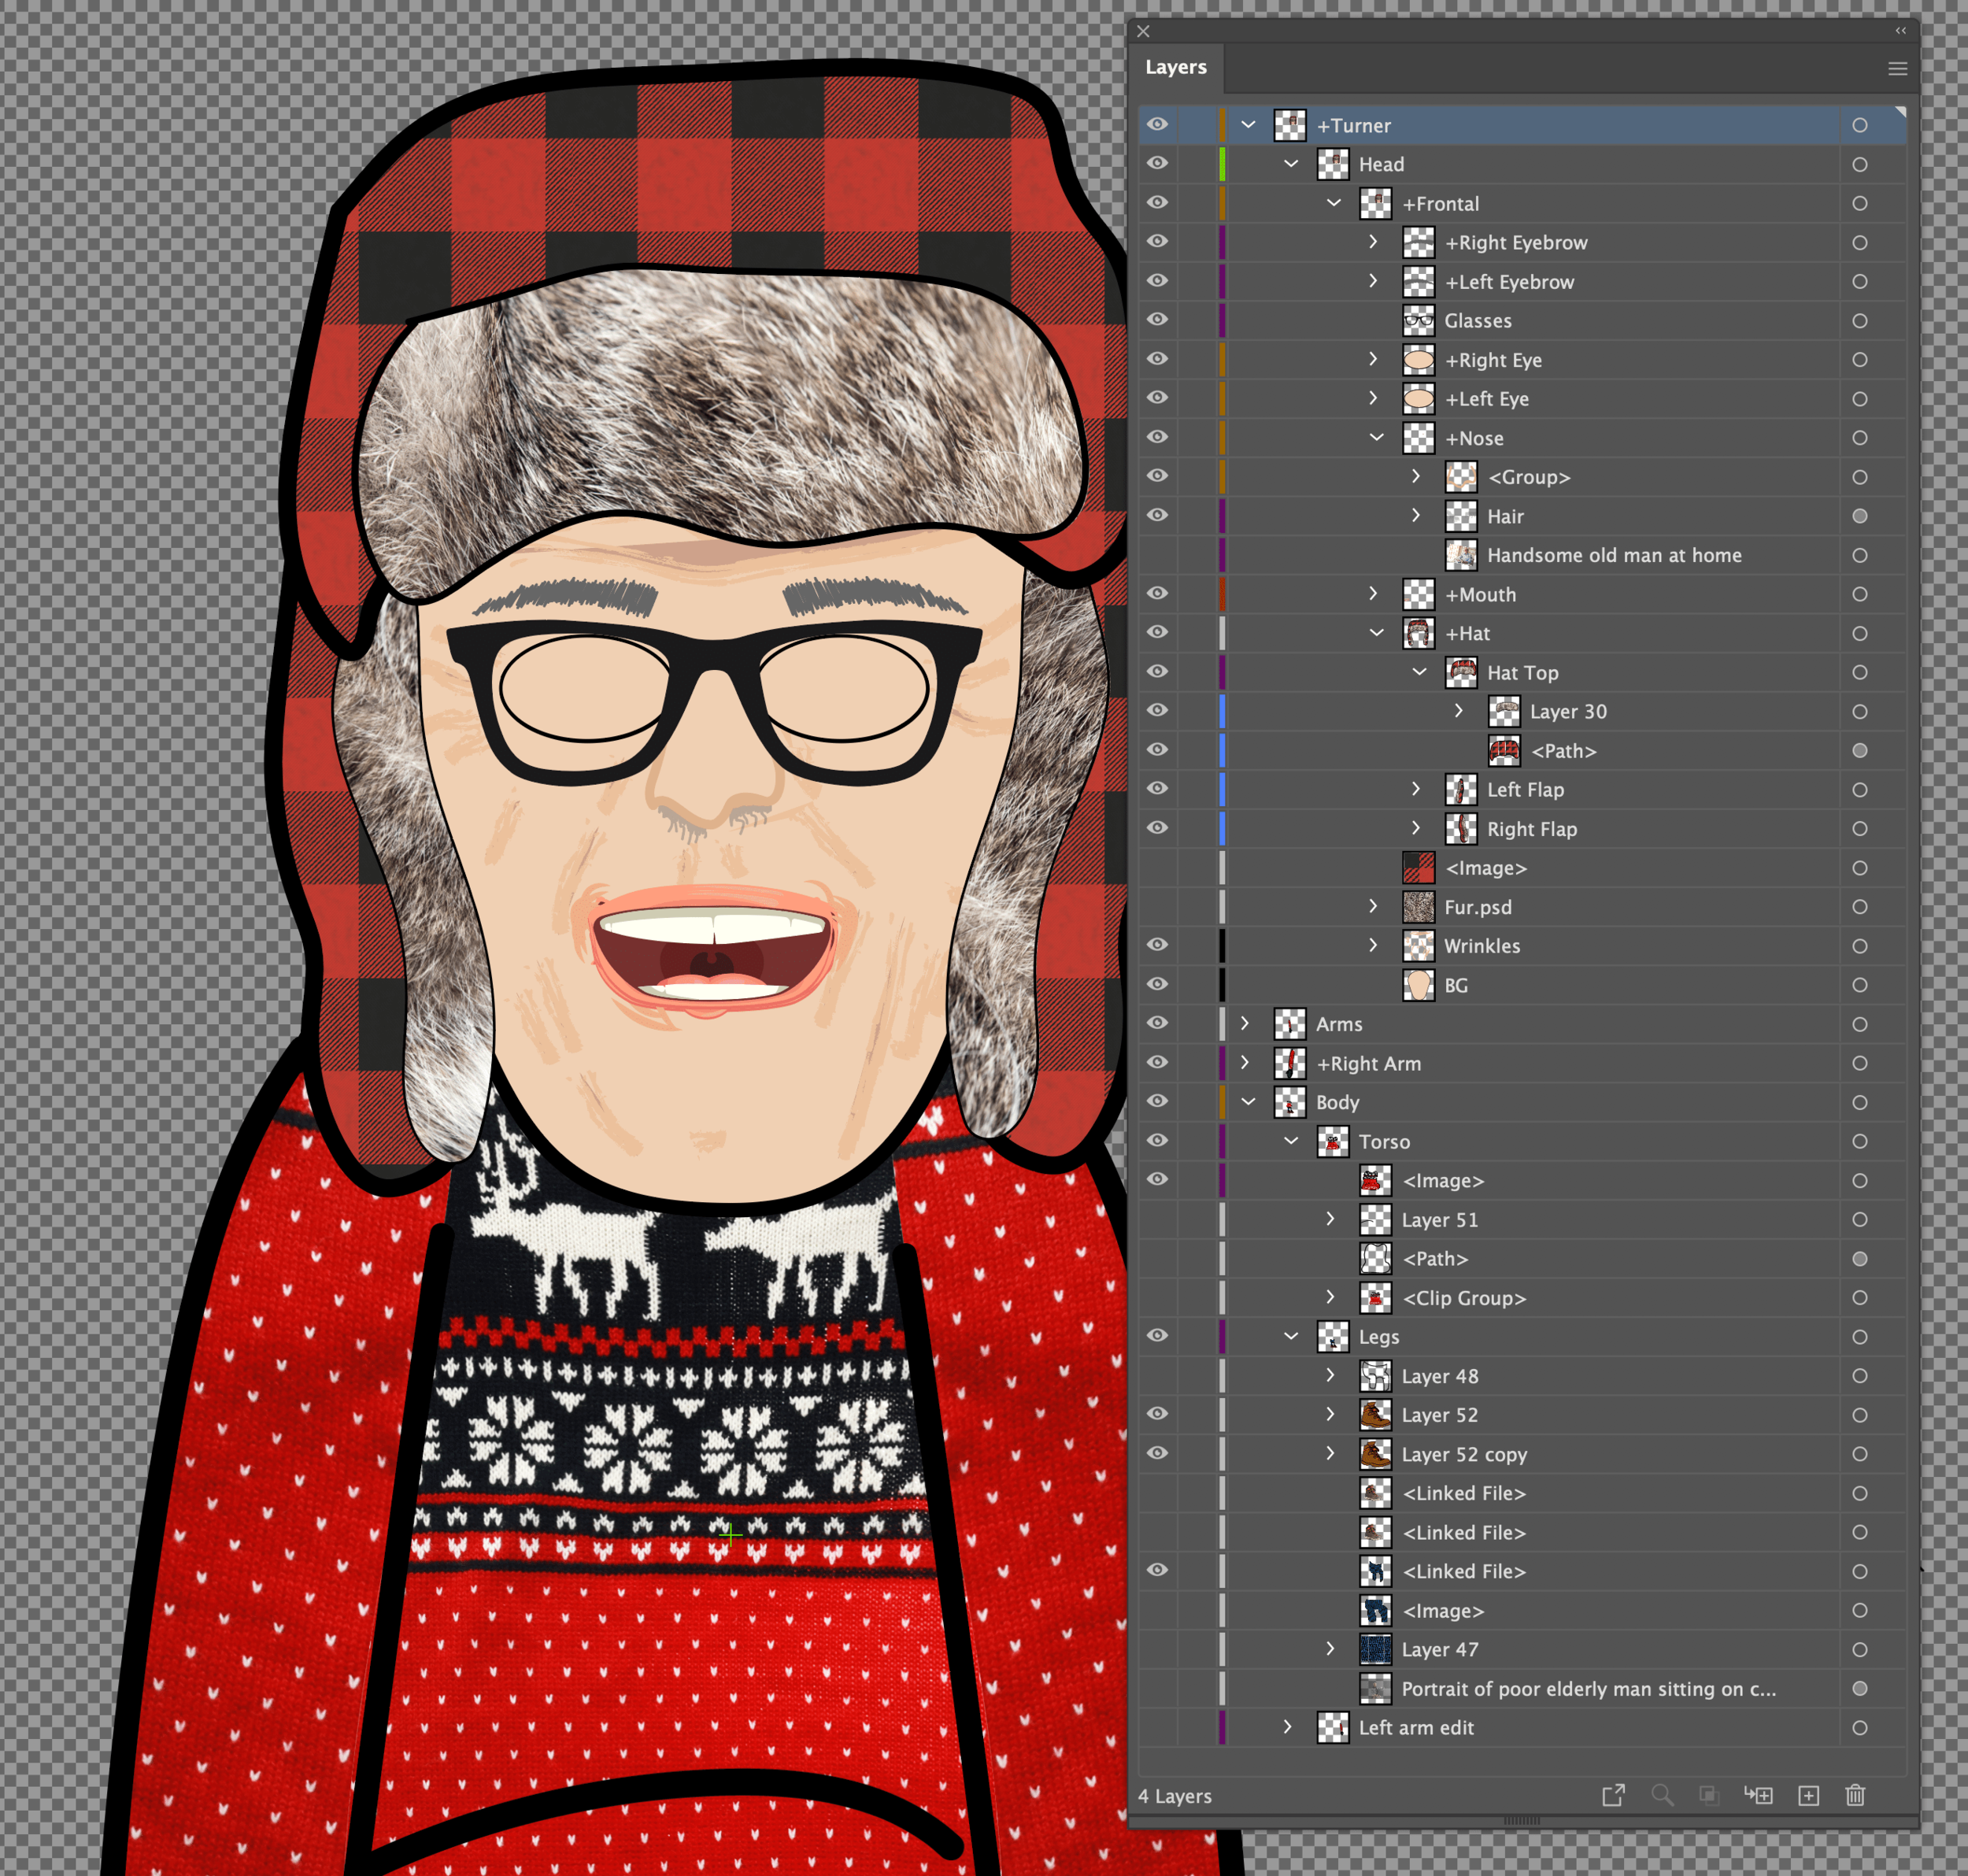
Goldy was designed in Photoshop as there would be far fewer shots with that particular “puppet” as Character Animator calls them.
Rigging
Here’s where my nightmare began. Rigging is a lot of trial and error and because I made Carl and Harlan vector puppets, I ran into a lot of loading issues until I found Draft vs. Render preview quality. I usually do this in Premiere when working on 4k footage on a less powerful machine, but not knowing where all the buttons were in Character Animator made for a frustrating first few days.

Fun…but not what we were looking for.
Luckily Dave Werner at Okay Samurai and the Adobe Character Animator team have very good in-depth tutorials.
I had floating heads and limbs, arms not reacting to body movements, Goldy’s walk cycle all over the place, but I learned a lot of do’s and don’ts by actually going through the process.
Animating
This was actually the most fun part once I got the hang of it. Again, through trial and error, I did multiple passes on each character.
First, I generated lip-sync takes based on each character’s audio.
Next, I would only animate the eye pupils to where the character needed to be looking.
The next pass I would actually act out using my webcam. This would motion capture head movements that went along with the dialog getting dangling items in their hats to move.
Finally, I would animate any hand movements. Over time, I was luckily able to get a lot of these set up as triggers, basically allowing me to watch the scene and trigger animations with keyboard shortcuts I had set up.
I would do one more pass changing camera angles (especially in the Goldy scene) that would give me every shot we would need.
Editing
No one on our team can draw, so lighting and shading was a challenge, but luckily I know After Effects. With some tests, I was able to figure out how to light the animated scenes using 3D layers and lights inside of After Effects.
I would render the scene as a PNG sequence out of character animator and import the sequence into Premiere. I then used Scene Cut Detection to automatically cut up all my camera angles. Then I was able to Dynamic Link my cuts to After Effects where each camera angle was its own layer.
Once I found out how many different “lighting setups” were needed, I set up where the lights would go for each camera angle. Luckily there were only about five different angles, so once the lights were set, I could just duplicate them and put them over each similar angle.

Before color correction and lighting.

After color correction and lighting in After Effects.
These compositions would then get rendered out and brought back to Premiere where I’d overlay the snow layer on top for a finished look.
After all the animation was done, I got to finesse timing and do a final audio editing pass in Audition adding sound effects, foley and music.
Wrapping up here, I gained a new respect for my favorite animated series especially when every asset needs to be created or sourced. I think it also made us excited for other ideas we’ve been noodling and that with each new short, we learn something that propels the next project.
Onward.